Run through the CI/CD workflow
Make a new branch, commit and publish your changes, create a pull request, and then follow the approval workflow process.
Overview
On this page you will:
- Create a git branch
- Commit and publish
- Create a pull request
- Review the changes
- Squash and merge
Create a branch
The main brach is protected to you must create a pull request on a feature branch. Note that the current branch is shown in Visual Studio Code’s status bar.
- Open the Command Palette (
CTRL+SHIFT+P) - Select Git: Create Branch…
- Set the branch name to initial
Commit
Now you will stage and commit your changes to the local Git repository.
-
Go to Source Control in the primary side bar. (
CTRL+SHIFT+G)The pane will display main.tf, terraform.tf,and variables.tf as Changes.
-
Select variables.tf to view the changes.
-
Select all three files and click on the + to Stage Changes.
All three files will now show as Staged Changes.
-
Type “Initial Commit” into the message box above the Commit button.
-
Click the Commit button.
The commit show now show in the Graph pane. Note that it is local is now ahead of the commits on the origin’s main branch.
Publish
The Commit button will have changed to Publish Branch. Publishing the branch will push the commit from the local repo to the origin and this should trigger the CI pipeline.
- Click on the **Publish Branch" button
Note that the Initial Commit in the Graph now has the cloud symbol next to it.
Pull request
You will need to run the Pull Request to trigger the CI checks and prompt a review.
-
Open the GitHub repo in a web page
You can use
gh repo view --webin the terminal if you have the GitHub CLI installed.Or right click on the commit in Source Control’s Graph to Open on GitHub.
-
Click on Pull Requests.
GitHub should show that the initial branch had recent pushes.
-
Click on the Compare & pull request button
-
Add a description.
Initial Azure Landing Zones definition. Added: - alz provider, linked to the core Azure Landing Zones library - `alz` architecture name specified in the standard management group AVM module - plus the related management module -
Click on the green Create pull request button
-
Wait a few seconds and you will see the CI workflow become triggered
The checks will be embedded in the Pull Request conversation. Click on the running test name to go straight to the workflow run in the Actions menu. You can drill into the run for detailed log output.
If your local tests ran successfully then the checks in the Pull Request should also pass, and you should also see no conflicts with the base branch.
Squash and merge
You can then squash and merge the Pull Request. (If you have multiple commits in tour branch then squash will collapse them into a single commit to keep everything clean.)
-
Click on the green Squash and merge button.
- Feel free to update the system generated message and description
- Click on the Confirm squash and merge button
The page will update and show the Pull request successfully merged and closed message.
Delete branch (optional)
You can also clean up the branch now that the Pull Request (PR) has been merged.
-
Click on the Delete branch button in the Pull Request conversation.
This deletes the origin/initial branch.
-
Open the Integrated Terminal in Visual Studio Code
-
Switch back to the main branch
git switch main -
Pull the update
git pull -
Delete the local initial branch
git branch -d initial
Note that the Graph has been updated and the main branch should show it is synced with the remote (cloud) version.
If you click on the most recent commit then it will display the three files. Confirm by clicking on variables.tf to view the diff.
Review
The merge (pull) into the main branch will trigger the Continuous Deployment (CD) workflow. The first job in the workflow runs in the Plan environment, and generates the plan artifact. The environment rules will then force a review, pausing after the CD / Plan with Terraform job.
-
View the plan
- Click on the CD / Plan with Terraform job
- Click on the Show the Plan for Review step
The plan is large, so allow a little time for it to be displayed in full.
-
Review the plan output and confirm the planned changes are as expected.
Approval
-
Go back in the browser to return to the paused workflow
-
Click on Review deployments
-
Check the alz-mgmt-apply box
-
Add a comment
Looks good to me. -
Click on the green Approve and deploy
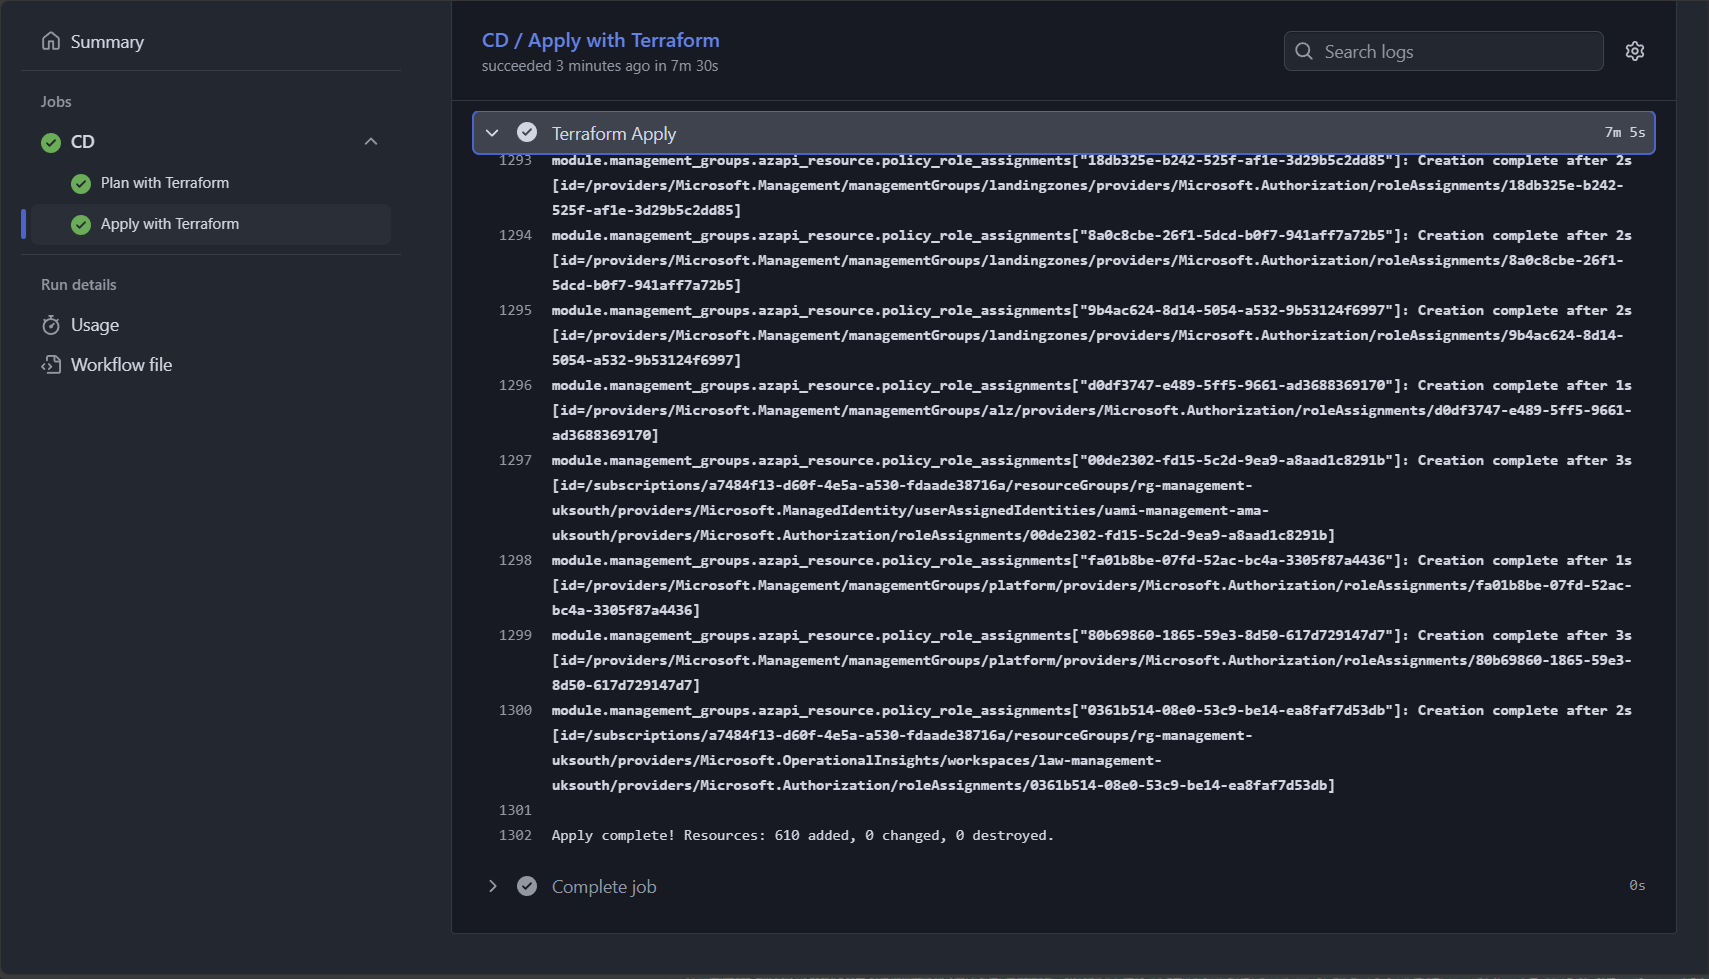
Deployment
The CD / Apply with Terraform step will start to run once the plan has been approved.
Click on the job name to view the log in the workflow. The core Azure Landing Zone will be deployed. Expect it to take up to ten minutes.